Monday, September 14, 2009

And the winner is....

Number provided by:

"True Random Number Generator
1 14 5 Powered by RANDOM.ORG"

The winner is.....
Anonymous "Anonymous said...

So cute!! You friend is very crafty!! Love it.

e h po pe@ live .com

September 10, 2009 8:32 AM"

Congratulations to you! I've sent an email to you and you'll have 48 hours to reply, if you fail to do so in that time frame I will contact the next person.

Again, a BIG thank you goes out to Jo from Two By Two Crafty Creations!

Come back soon, I'm planning a few more giveaways in the next few weeks! Stay tuned!

Wednesday, September 9, 2009

Giveaway!

******* THIS CONTEST HAS BEEN CLOSED, A WINNER WILL BE ANNOUNCED ON MONDAY! THANK YOU TO EVERYONE WHO ENTERED! **********

I've been tossing this idea around for a while... I have a few friends who make fun crafty items and I want to highlight their work here. The best way to do that is to have a giveaway!

The first in this series is my friend Jo. She makes adorable toddler adornments with ribbons and buttons! Lots of fun colors, lots of fun options! Her Etsy.com shop, Two By Two Crafty Creations, can be found here so make sure you check that out too! Very fun stuff!

This is the item that we're giving away!

It comes on a slip on clip but it can be also be placed on a headband, which will be included.

To enter this giveaway, you need to leave a comment, please include your email in your comment. You don't have to say anything special in your comment, just leave one to enter. You can enter TWICE if you also repost this, either on your own blog or on facebook or twitter, wherever! Just leave a 2nd comment telling me you did so and provide a link if you can. The contest will close at MIDNIGHT this FRIDAY, SEPTEMBER 11, 2009. I will announce the WINNER Monday morning! Good LUCK!

ETA - if you've left a comment without an email please contact me with your email address!

SMALL PRINT: I'll be using this site to choose the winner, if I contact you as the winner, you'll have 48 hours to reply. If you fail to do so I'll move onto the next person on the list.

Monday, August 24, 2009

The Last 35 days in Photos

Yes, I've been MIA... I'm chalking it up to having too much fun thus no time to blog... or at least not much time to organize my thoughts into post format.... I apologize! Frankly, with all the fun we've been having, there is OF COURSE an abundant amount of photos to go along with it. 111 (after edits) to be exact... So the thought of organizing our summer fun into posts was a bit daunting since i had to deal with flickr and my photos first...

So here we are, the last 35 days in photos. (Some of the photo credits go to Chris, it should be fairly obvious which ones... I'm in them! lol)

July 21st - Chris and I each took a kid and had some one on one time with them. Chris took Max on a short road trip to the Breezewood Exit on the PA Turnpike so that they could explore an abandoned portion of the turnpike there. It's been closed off to motor vehicles for quite a long time but bicycles are welcomed! Photos can be found here. That day, I took Andy to the zoo! It was so much fun to spend time with him and just him. He never gets to have 100% of me! It was a treat for both of us.


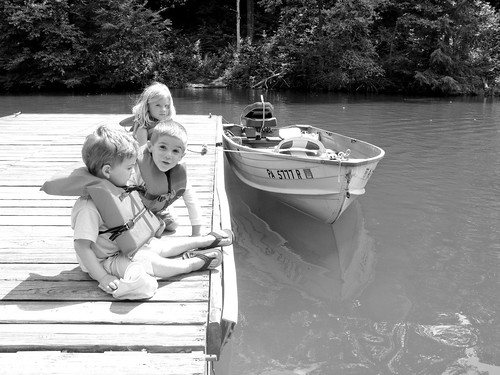
August 1st - Chris took Max fishing with a friend of ours, however Max had developed a nasty rash the day before... (not our finest parenting moment) so I'm not certain that he really enjoyed himself, he looks absolutely miserable in the photos....


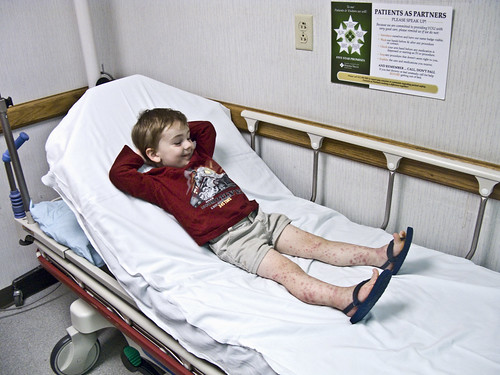
That night Max's rash got quite nasty so we decided to take a trip to the ER. He enjoyed it! LOL

Max spent some time making funny faces while we waited.

We spent the next few days relaxing and staying out of the sun so that Max's spots would could heal. We did play outside a bit in the evenings since it was the cooler part of the day, that included some chalk drawings in front of the house.

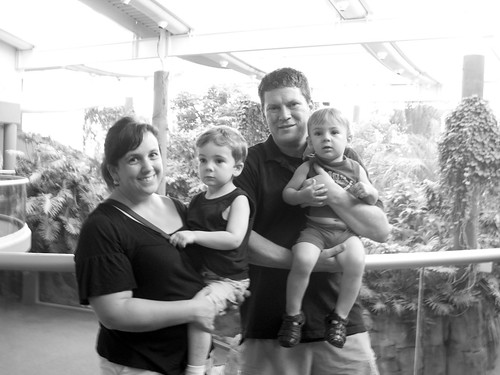
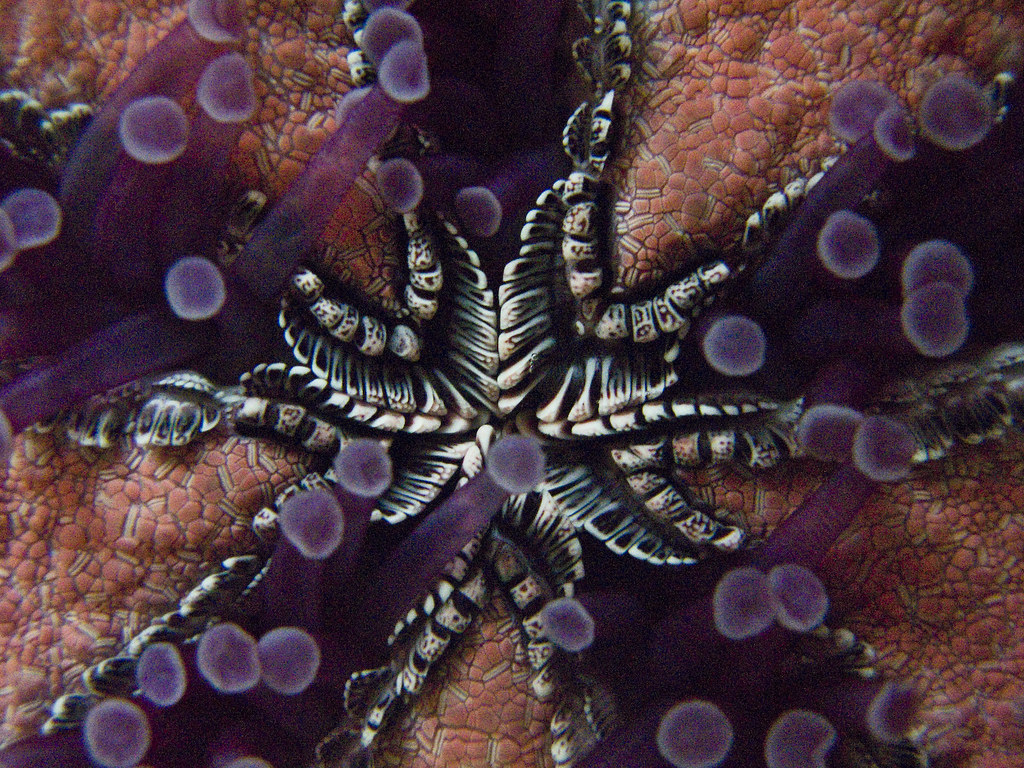
August 4th - ANOTHER trip to the zoo.... this time it was member appreciation night so the four of us got to go! We ran into Annie and her family in the parking lot and again in the aquarium so we stopped for a family photo. And I took this AWESOME photo of the underneath of a starfish.


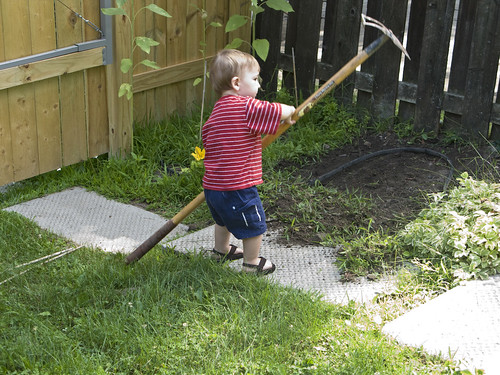
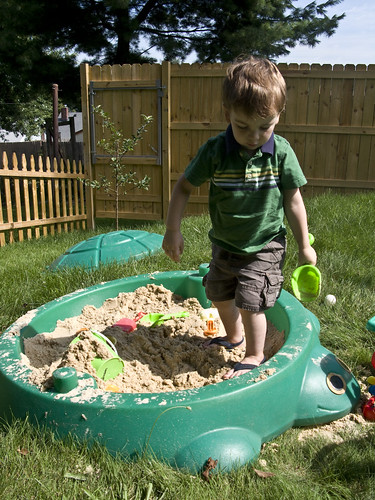
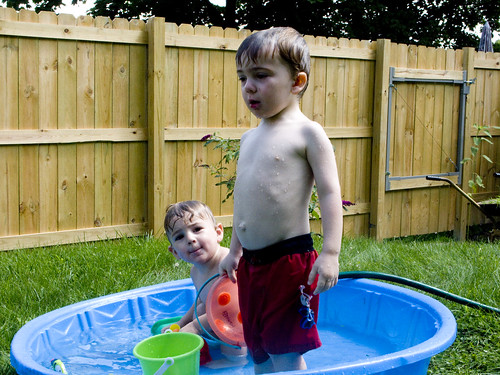
August 7th - We finally filled the new sand box, did a little yard work and cooled off in the kiddie pool!


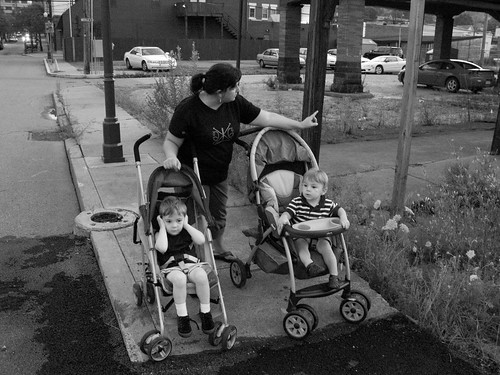
August 12th - it had been raining for a few days so after dinner and before bedtime one evening we took the kids for a walk down to the train tracks in town where we spent 45 minutes for the next train to come... here we are practicing to cover our ears :)


August 14th - We took a trip out to Idlewild with my parents. We walked through storybook forest, played in the ball pit (two times in a row), took a train ride, road the big ferris wheel and various other vehicles for the toddlers, some of us napped, some of us cried, and some of us swam. All other photos from this day can be viewed here.


August 15th - I sewed an adorable little pillowcase dress for an adorable little 1 year old. (separate blog post about that in the near future).

August 16th - We attended a 1st birthday party for the above mentioned adorable little Charlotte! Five Stars to her parents for having the most entertaining and fun toddler party EVER! There were about 6 toddlers in attendance and it happened to be one of the HOTEST days of the summer. They had a LARGE tent and tables for the adults to sit under and for the kids, there was a sprinkler, a blow up pool and a slip and slide. We arrived, put the kids swim suits on and let them loose. It was a blast to watch them all have so much fun! Even the folks that were there without children mentioned how fun it was to watch the kids have so much fun! (the entire set can be found here)


August 16 - 19 - We had Chris's Aunt Debbie and Uncle Larry visiting the area from Denver. We did some fun things and had time to visit. We went on a Just Ducky Tour as a big group followed by lunch in Station Square. Tuesday everyone came to our house for dinner and dessert and Wednesday we all went to OH for dinner again. Their visit was a blast! Photos are here.

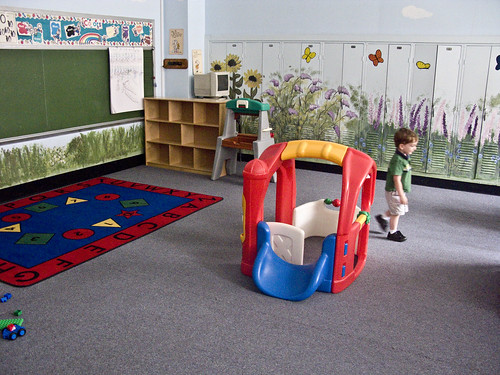
August 20th - Max had preschool orientation. Chris and I both took him and he had a blast playing with some of the toys in the classroom. We recieved a list of items that he'll need before school and instruction on what he'll be learning and doing while he's there. We're all really excited about this! Here he is in his classroom :)


Later that morning we went to the zoo again with a friend of mine. it was HOT and the kids were pretty tired from their busy week prior... so we cut it a bit short but still had fun. We FINALLY got to see the polar bears swimming! HOW FUN! i didn't manage any photos of this but it was really amazing!

Thursday, July 16, 2009

Modified Zucchini Lasagna

A few weeks ago Chris and I decided that we were going to try to cut our meat consumption down a bit and at the same time decrease our carbs again and increase grains and vegetables. So, on a quest to find some new recipes that fit this new goal, I put a request out on a local message board that I frequent for some veggie heavy recipes. This was one suggestion and luckily I had just picked up some large zucchinis from the local farmers market and I had all the required ingredients on hand too, so I gave it a shot. (including the cottage cheese in place of the Italian standard ricotta - I know..... I later received a phone call threatening excommunication from the family because of this... more on this later.) I also had decided since we were going for a non-meat meal, that I would omit the ground beef.

After looking at a few similar recipes using zucchini in a lasagna-like casserole, I decided to start prepping my meal but along the way a FEW wires were crossed. The outcome was fantastic though and that's why I'm sharing my modifications. AND, It's your lucky day because I'll be doing it "P-Dub" style!

Cara's Modified Zucchini Lasagna

First and foremost, the cast of characters:
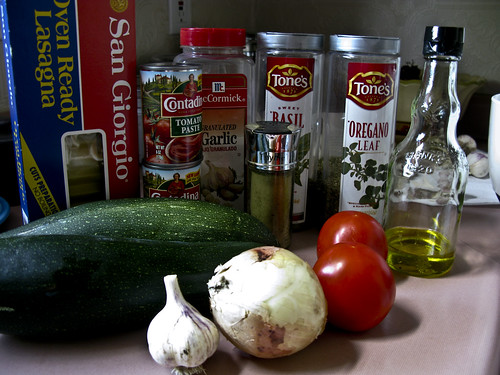
Garlic from our garden(three cloves chopped), one medium yellow onion(chopped), 2-3 ripe tomatoes (rough chop), olive oil, 2 - 3 large zucchini (sliced into 1/4 disks, 2 - 6oz cans of tomato paste, garlic powder (a few dashes), dried Thyme (1/2 teaspoon), dried oregano (1 teaspoon), dried basil(1 teaspoon) *** (fresh would be a nice complement to the dish too). OOH and what's that in the back there, yes, those are oven ready lasagna noodles (you'll need 6)! Something the original recipe lacked. See, this is where my wires got crossed and I somehow thought that there were supposed to be noodles in this recipe, I mean it was lasagna right? And, what's lasagna without noodles..... what I failed to notice was that the ZUCCHINI was to be sliced into large, wide, noodle-like planks and should have been used in place of noodles... OOPS!)

*** Another modification, I doubled the herb measurements from what the original recipe called for because in a few of the comments under the recipe others stated that it was a bit light on the seasonings... doubling seemed reasonable. I have no complaints about the amounts I used.

Moving along.....

I chopped my zucchini and sauteed that with a little bit of olive oil and salt and pepper to taste. Saute until mostly cooked through.
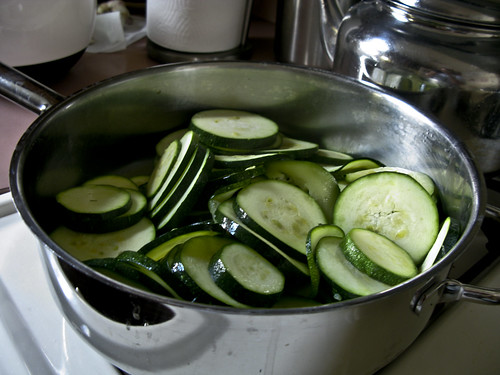

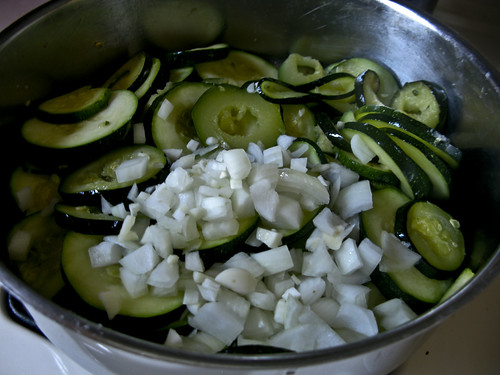
Once the zucchini has cooked down a bit, toss in the onions, garlic and herbs/seasonings.

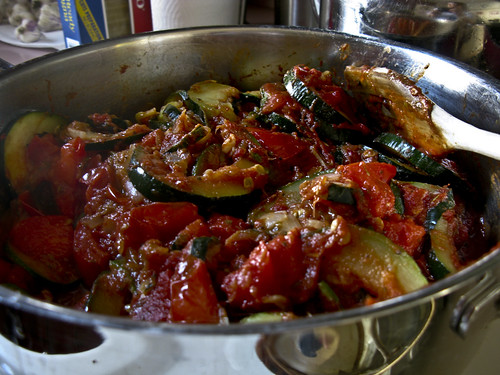
Allow the onions to become a little translucent and then toss in the tomatoes and tomato paste, bring to a boil and let simmer uncovered for 10 minutes. It will look like this when it's done. YUM!

While the above is simmering, you'll need to pull these friends out of the fridge:
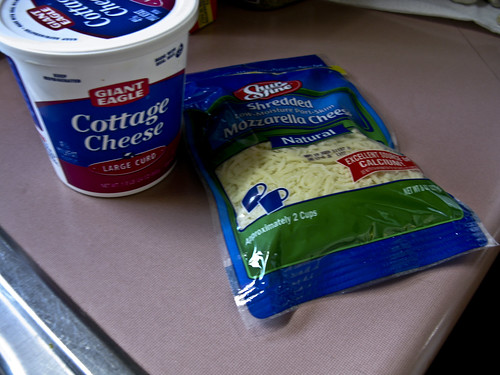
You'll need 1 1/2 cups Cottage Cheese, 2 cups shredded mozzarella and 2 eggs which are conveniently missing from the photo... (see?! I told you it was true P-Dub style...)

In a small bowl beat eggs, add cottage cheese and 1/2 the mozzarella.

NOTE: About the Cottage Cheese... The original recipe called for this ingredient in place of ricotta. I had recently read a few other recipes that discussed substituting cottage cheese for ricotta too so I was curious... I also happened to have that on hand and didn't have ricotta... so in an effort to NOT have to run to the store for ONE item, I gave it a shot. I'll admit, it felt wrong during prep, it sorta looked the part but it just wasn't quite right looking either... I pushed through, assembled the lasagna, baked it, ate it and LIKED it this way too. *gasp* My first taste, I missed the creamy texture of ricotta. My second taste, I looked beyond it and savored the yummy that was in my mouth and put the lack of ricotta out of mind... Will I do it again? Mmm, Maybe... if i don't have ricotta on hand. However, if I've planned correctly, I hope to try this with ricotta the next time. I would think it would only add to the flavor. My mom can now rest easy knowing that I'm not a cottage cheese convert I'm sure....

Ok, moving onto assembly.
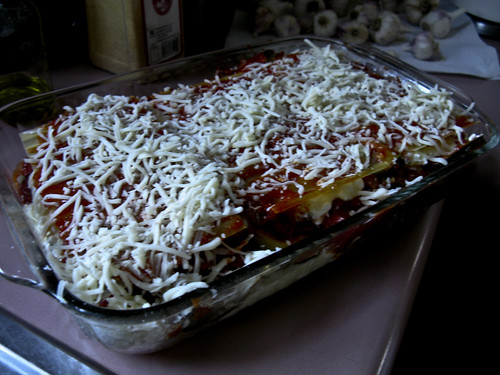

Spray a 9x11 baking dish with cooking spray, spread a little less than 1/2 of the zucchini mixture into the bottom. Next, layer 1/2 of the egg/cheese mixture, then three lasagna noodles. Spoon most but not all of the zucchini mixture (you'll want to leave a little bit for the top), then the rest of the egg/cheese mixture, three more noodles, the rest of the zucchini mixture and top with mozzarella. Cover, bake for 30 minutes at 375 degrees, uncover and bake for another 10 minutes until cheese is lightly golden. Let stand for a few minutes before serving.

Finally, enjoy with your family!

Tuesday, July 14, 2009

What I've Been Working On

I've been sewing!

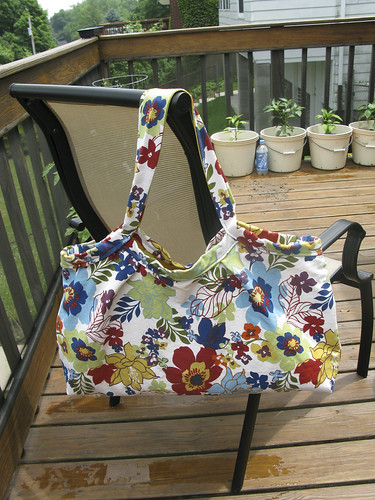
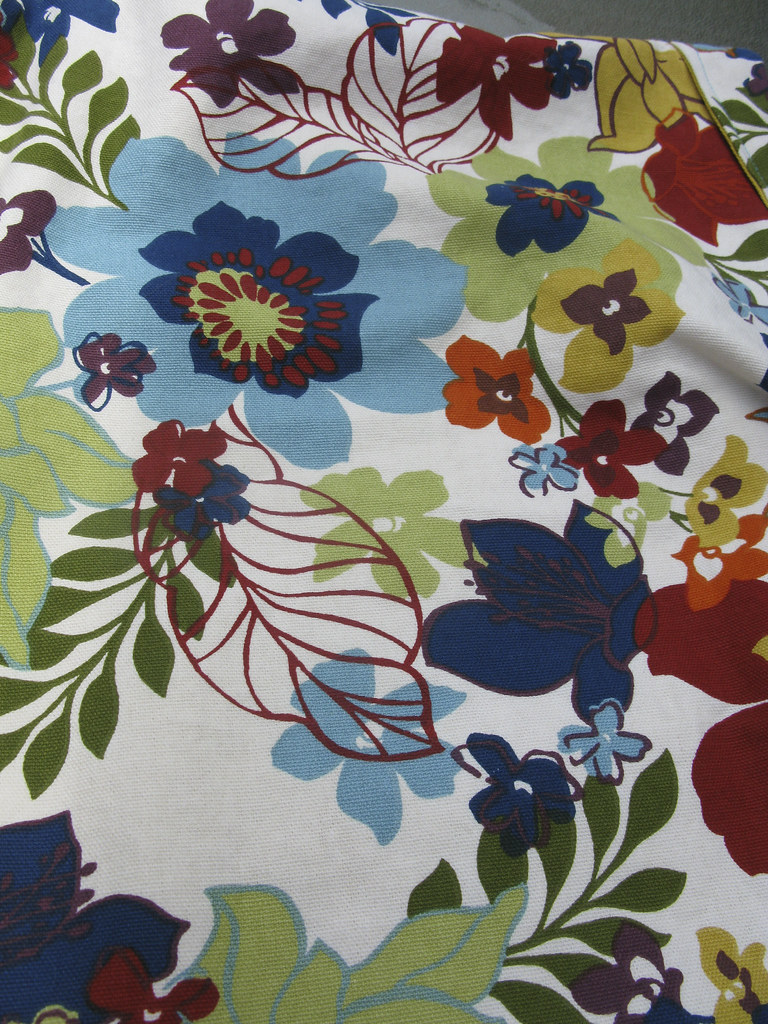
I had a request from a family member for a large bag to use for her frequent trips to the beach. She lives in Florida and often has a need for a beach bag. I did a LOT of fabric searching, I tried to share options with her while shopping but nothing really truly inspired me.... I wanted it to be a thick canvas type fabric with a lot of body and I was looking for a bold print. I finally found this and used a yellow duck cloth that matches the yellow flowers for the inside lining. I used the pattern for the Everything Tote from the book Weekend Sewing by Heather Ross.


I loved creating this bag, the size is great, and the structure is fantastic too. The pocket has two compartments, one is perfect for a cell phone, the other is larger for a few small incidentals.


The main compartments is HUGE.... i put two large beach towels in this one to photograph it and still had a TON of room.

I loved this bag so much that i had planned on making another exactly like it for me. But, the fabric was sold out by the time i got back for more. I DID purchase another print for me and hope to sew another one soon. I did make a small modification. The bag is intended to be sewn in a lighter fabric, one with a bit more give. The gathers are supposed to be created in the same way ruffles are created but the fabric was way too stiff for this. I decided to do two small pleats instead on each side instead and I think I prefer this look over the ruffle/gathers.

In addition to the bag, I also made two skirts last week. I used two different patterns.

1st - Angry Chicken's 5 minute skirt, pattern found here.
2nd - Easy Breezy Skirt, found in the book Sewing Green by Betz White.

This is the "5 minute" skirt, it took way longer than 5 minutes... in fact I had to put it down for a day because i was so annoyed with it. Once I learned where my errors were, it all worked out and I will be tweaking this pattern for more skirts. Problem One, the waist was HUGE... I had to decrease it by about 8 inches... (I'm not sure that's really a problem really LOL). Problem two, was the trapezoid shape that resulted in pointy sides that hung down further than the front and back hem... remedied by adding a curve to the hem in the front and back... it creates an optical illusion... Both issues taught me a lot about skirt construction. Thus, I'm not in the least bit upset because I learned something AND the skirt is wearable in the end. Another thing I learned is that finding FOE (fold over elastic) is not something that you can do at Joann's... i improvised and used a 3/4 in thick piece of black elastic, it "worked" but is not ideal. I plan on purchasing some online before i make my next skirt with this pattern.


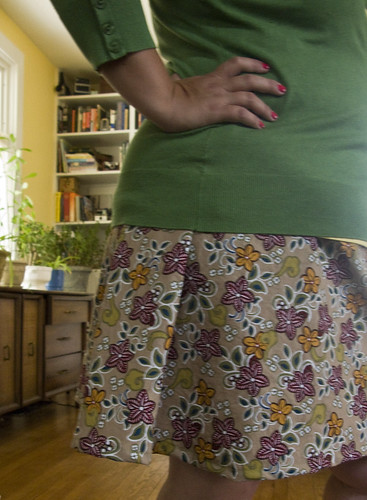
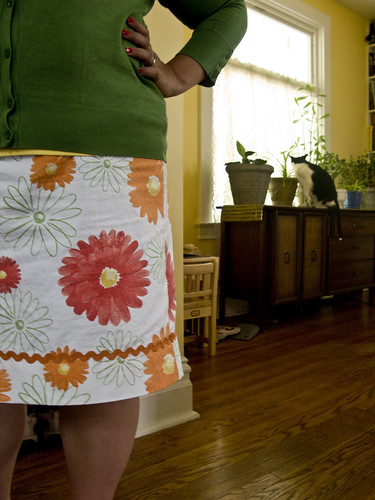
This is skirt number two and is commonly known as "the pillowcase" skirt. However there is NO WAY my ass would fit into a pillowcase... so I followed the directions in her book for using other fabric. In short, this skirt is a long straight tube and the width is based on the widest part of your hips. It's got an elastic waist and a nice substantial hem. This fabric was purchased in Ithaca NY, while on vacation, it was $4.73 and was a remnant in the discount rack. Add in the elastic for the waist and rick rack for the hem detail and I made this skirt for less than $10! Same goes for the skirt above, however I think that was was even less, MAYBE $6 bucks!